GPT Image 2 for Manga and Comic Creators: A Solo Workflow
GPT Image 2 renders readable text and keeps panels consistent — how solo manga and comic creators can build a full chapter workflow.
Hello, I'm Nova. I spent last weekend running a four-page manga test with GPT Image 2. Not a demo, not a one-off panel — an actual short scene with the same character, Japanese speech bubbles, SFX, and a couple of background shots that needed to feel like the same place.
I went in skeptical. I've been making little comic experiments for about a year, and every previous model fell apart somewhere between panel two and panel three — usually on the face, sometimes on the kanji. So I wasn't expecting much.
That said — this is not "AI replaces your manga workflow." It's more like one specific bottleneck just got smaller, and a few new ones appeared. Here's what I actually learned.
What changed in GPT Image 2 that matters for comic creators
CJK + Latin text rendering at near-perfect accuracy
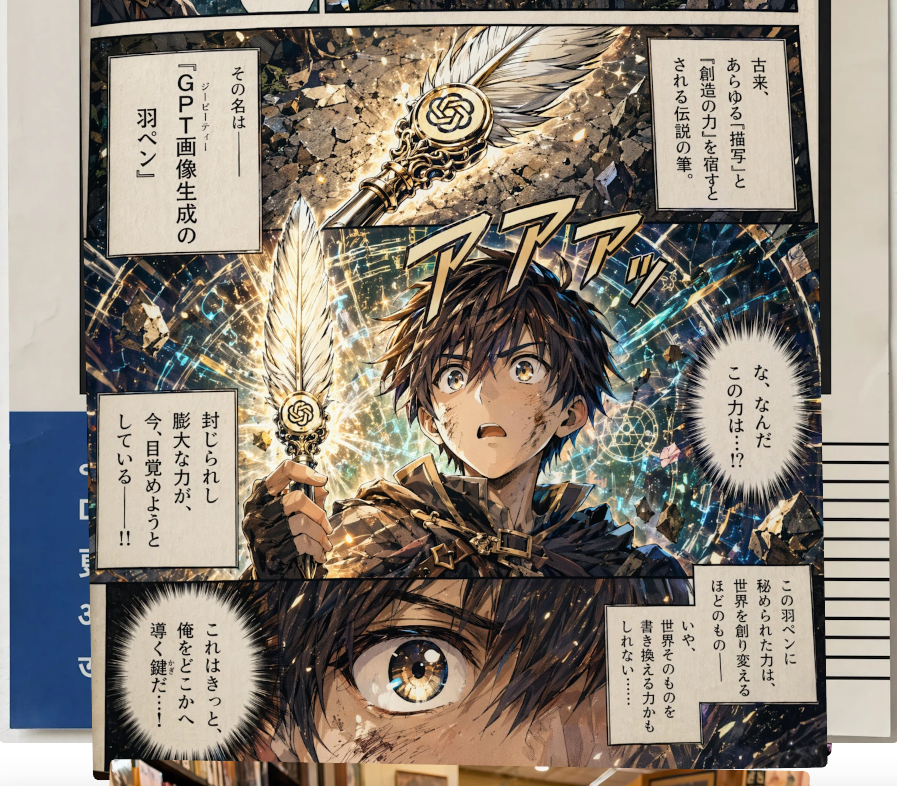
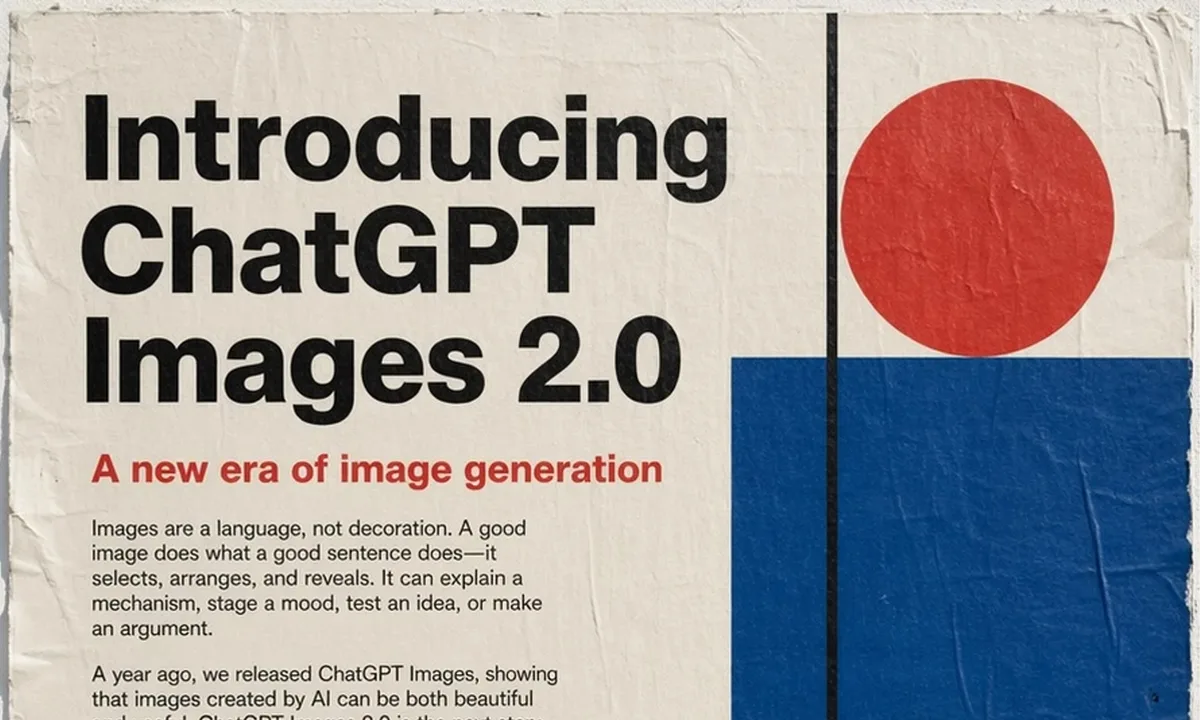
This is the headline change, and for once the headline matches the experience. According to OpenAI's own announcement for ChatGPT Images 2.0, the model is built for "complex visual tasks" with text rendering as one of the core upgrades. Independent testing puts character-level accuracy across Latin, Chinese, Japanese, Korean, Hindi and Bengali at roughly 99% — VentureBeat's hands-on review flagged Japanese manga speech bubbles specifically as one of the things that "looked seamless."
Before, I'd generate a panel, photoshop the bubbles out, and hand-letter the kanji myself. That step is mostly gone now for headline-length text. For dense paragraphs at small sizes, it still slips. I keep my in-bubble text under about 15 characters per line and it holds up.
Multi-turn editing without re-prompting from scratch
The other shift is conversational editing. You generate a panel, then say "keep everything but redraw her expression — she's looking down now, more shadow on her face." The model edits that, not the whole image. The rest of the panel — pose, background, lighting — stays put.
This sounds small. It is not small. The old workflow was: regenerate twenty times, hope something close enough comes out. The new workflow is: generate once, then iterate surgically. I used to spend most of my time fighting the model. Now I spend most of it directing it.
4K resolution, and what it actually means for print
GPT Image 2 supports up to 4K (4096×4096) output. Microsoft's Foundry documentation confirms the resolution tier and the flexible aspect ratios — useful, because manga panels rarely want square. For print at 300dpi, 4K gets you roughly a half-page panel without upscaling, or a full-page splash if you're not too picky. For digital — webtoons, Instagram, your own site — it's overkill in the good way.
A realistic solo manga workflow, step by step
From script to panel prompts
I write the page first. Just the script — dialogue, SFX, what's happening. Then for each panel I build a prompt with four parts, every time:
Scene — where, when, weather, light
Character — same description repeated verbatim across panels
Style — black and white manga, screen tone, line weight
Composition — wide / close-up / over-shoulder, where text sits
The repetition matters. The character description has to be identical across panels. Not paraphrased. Identical. "Short dark hair, freckles, oversized cream sweater." Same string. Every panel. The first time I tried this I was lazy — varied the wording panel to panel because it felt redundant to copy-paste — and the character's nose changed three times across five panels. Lesson learned the boring way.
A working four-panel prompt for me looks roughly like: same scene anchor at the top,the same character string repeated four times, then four short lines describing only what changes — angle, expression, what's in frame. Anything I want to read as literal text inside the panel goes in "double quotes". Skip the quotes and you'll get plausible-looking gibberish.
Keeping character design consistent across a chapter
This is where it gets interesting and also where I learned to manage expectations. According to The New Stack's coverage of the launch, Thinking mode is specifically designed to maintain character and object consistency across multiple frames — manga and storyboarding are explicitly listed.
In practice, with Thinking mode on and an 8-image batch from a single prompt, I got recognizable continuity for about 5–6 of those panels. The other 2–3 needed a small re-roll on the face. That is a huge step up from generating panels one-at-a-time, where consistency was basically a coin flip.
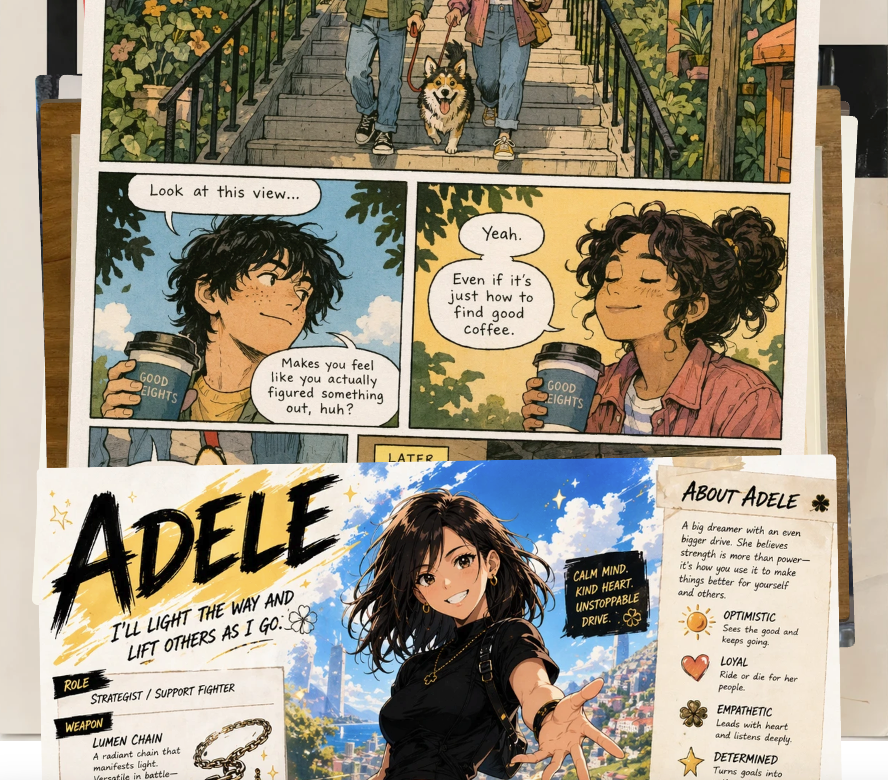
For longer sequences, I keep a "reference sheet" — three panels of the character at different angles that worked well — and feed them back as image inputs for new panels. This is the closest thing I have to a real character lock right now.
Speech bubbles, SFX, and mixed-script typography
Wrap exact text in double quotes. This isn't a stylistic choice, it's how the model parses literal strings. Unquoted text drifts. Quoted text renders.
So: panel includes a thought bubble reading "彼が帰ってきた" and an SFX in the corner reading "ザワザワ".
Mixed-script in one bubble — say, English plus a small kanji aside — works more often than I expected, but I still proof every panel zoomed in. Dense paragraphs still occasionally swap a stroke.
Iterating a panel without breaking composition
Once a panel is 80% there, I stop regenerating and start editing. "Keep everything; soften the shadow under her eye" — that kind of instruction. The conversational edit pattern preserves the rest of the panel. It's the single biggest workflow change for me, and the thing that makes solo production actually feasible inside a weekend rather than a month.

Where GPT Image 2 still breaks down
I want to be honest here, because the launch coverage is mostly euphoric and that's not the full picture.
Faces and hands across long sequences
Faces drift after about 6–8 panels even with strong prompting. Not dramatically — but enough that a careful reader notices in panel 9 that her nose is slightly different. Hands in dynamic poses (holding something, pointing) still come out wrong maybe one panel in four. I retouch hands manually. Every page.
Background continuity between panels
If panel 1 is a cafe interior and panel 3 is the same cafe from a different angle, the model gives you a plausible same cafe — same vibe, same general layout — but the chair count changes, the window position shifts, the menu board on the back wall says something different. For establishing shots this is fine. For tight continuity (a character moves from table A to table B), it falls apart.
My workaround: generate the establishing shot first, then use it as an image reference for every other panel in that scene.
Style drift across a full chapter
Across 20+ panels the line weight and screen tone density drift. By panel 25 the style is subtly softer than panel 1. DataCamp's review notes the model is positioned as a "visual thought partner" rather than a fixed-style renderer — and I think that framing is actually honest about what it does well and what it doesn't.
What to do when the model hits a wall
When a panel just won't come out right, I have three fallbacks before I give up.
One: drop a reference sheet. Three good panels of the character go in as image inputs. Re-prompt. Hit rate goes up noticeably.
Two: retouch the hands and small text in any image editor. I use a free one for this. The model gets you 90% there; the last 10% is still a human job, and pretending otherwise is how you ship a comic with eight-fingered protagonists.
Three: for backgrounds that need to repeat, generate the background once at 4K, save it, and composite characters onto it for the rest of the scene. This is old comic-production technique applied to AI output, and it works.
Handling asset overflow when you produce 30+ panels a week
This is the part nobody warns you about. A single chapter in my workflow now generates around 60–80 image files between drafts and finals — reference sheets, panel iterations, background plates, retouched versions. After three chapters I had a folder with 250+ unsorted PNGs and could not find anything.
I ended up building a basic naming convention — ch02_p04_panel3_v2.png — and a flat folder structure per chapter. Boring, but it's the difference between shipping and not shipping. The bottleneck for solo creators stops being generation. It becomes file management.
Who this workflow fits, and who should skip it
Here's how I think about this. If you're a solo creator working on short-form sequential art — webcomics, four-koma, manhwa shorts, storyboards for your own video projects — this is genuinely useful. Not a replacement for skill, but a real time-saver on the parts you didn't enjoy anyway (backgrounds, lettering, basic scene blocking).
If you're trained in traditional comic art and have a strong personal style, the style drift will frustrate you. The model gives you a manga look, not your manga look. The gap is real.
If you're trying to produce a long-form serialized work with tight continuity, the limitations on character consistency past 8 panels and background drift between scenes will make this feel more like a fight than a tool. Worth waiting another version cycle.
For everyone in between — curious, doing it for fun, want to test whether you can ship a 12-page short — it's worth a weekend. The pricing is reasonable: included in ChatGPT Plus at the standard $20/month tier with usage limits, or token-based via the OpenAI API model page for production work. Image output tokens land around $30 per million on the API, which works out to a few cents per panel at the resolutions I use. I checked the docs as of writing this; verify before committing — the API tier opens to all developers in early May.
FAQ
Does it work for manhwa / vertical webtoons?
The aspect ratio support goes up to 1:3 tall, which fits webtoon panels. Style-wise , Korean webtoons look reasonably well. I haven't pushed a full episode through it yet.
Can I use it for commercial work?
Check the current OpenAI usage policy — outputs are generally usable commercially, but the rules around generating recognizable IP are strict. Not legal advice, just check the policy directly.
Does it replace a real artist?
No. It compresses the parts of comic-making that were always grunt work. The taste, the story, the panel rhythm — that's still you.
How long does a page take me now versus before?
Before: 6–8 hours for a polished black-and-white page. Now: about 2 hours, including the manual hand retouching. That number will keep moving as I get faster at prompting.
That's where I am with this right now. Bookmark it, try it on a short page, see how it feels in your hands. The model will keep changing — what's true today might not be true in three months. But for one specific thing — solo sequential art with legible CJK text — it just crossed a threshold that's worth knowing about.
Back to drawing things.
Previous Posts:
See how to build a repeatable AI workflow for solo creative work
Understand how AI tools fit into real solo operator workflows in 2026
Learn how one-person creators are scaling output without hiring
Discover practical AI workflows that actually work beyond one-off prompts
Explore how AI can help you operate like a full creative team solo
Get automation tips for your workflow
Weekly insights for non-technical professionals. No spam ever.